
My raspberry PI Arcade table has been completed!
Check out the final stages of the build after the jump
The joysticks and buttons are now all wired up, using about 10m of cable and a load of 4.8mm spade connectors.
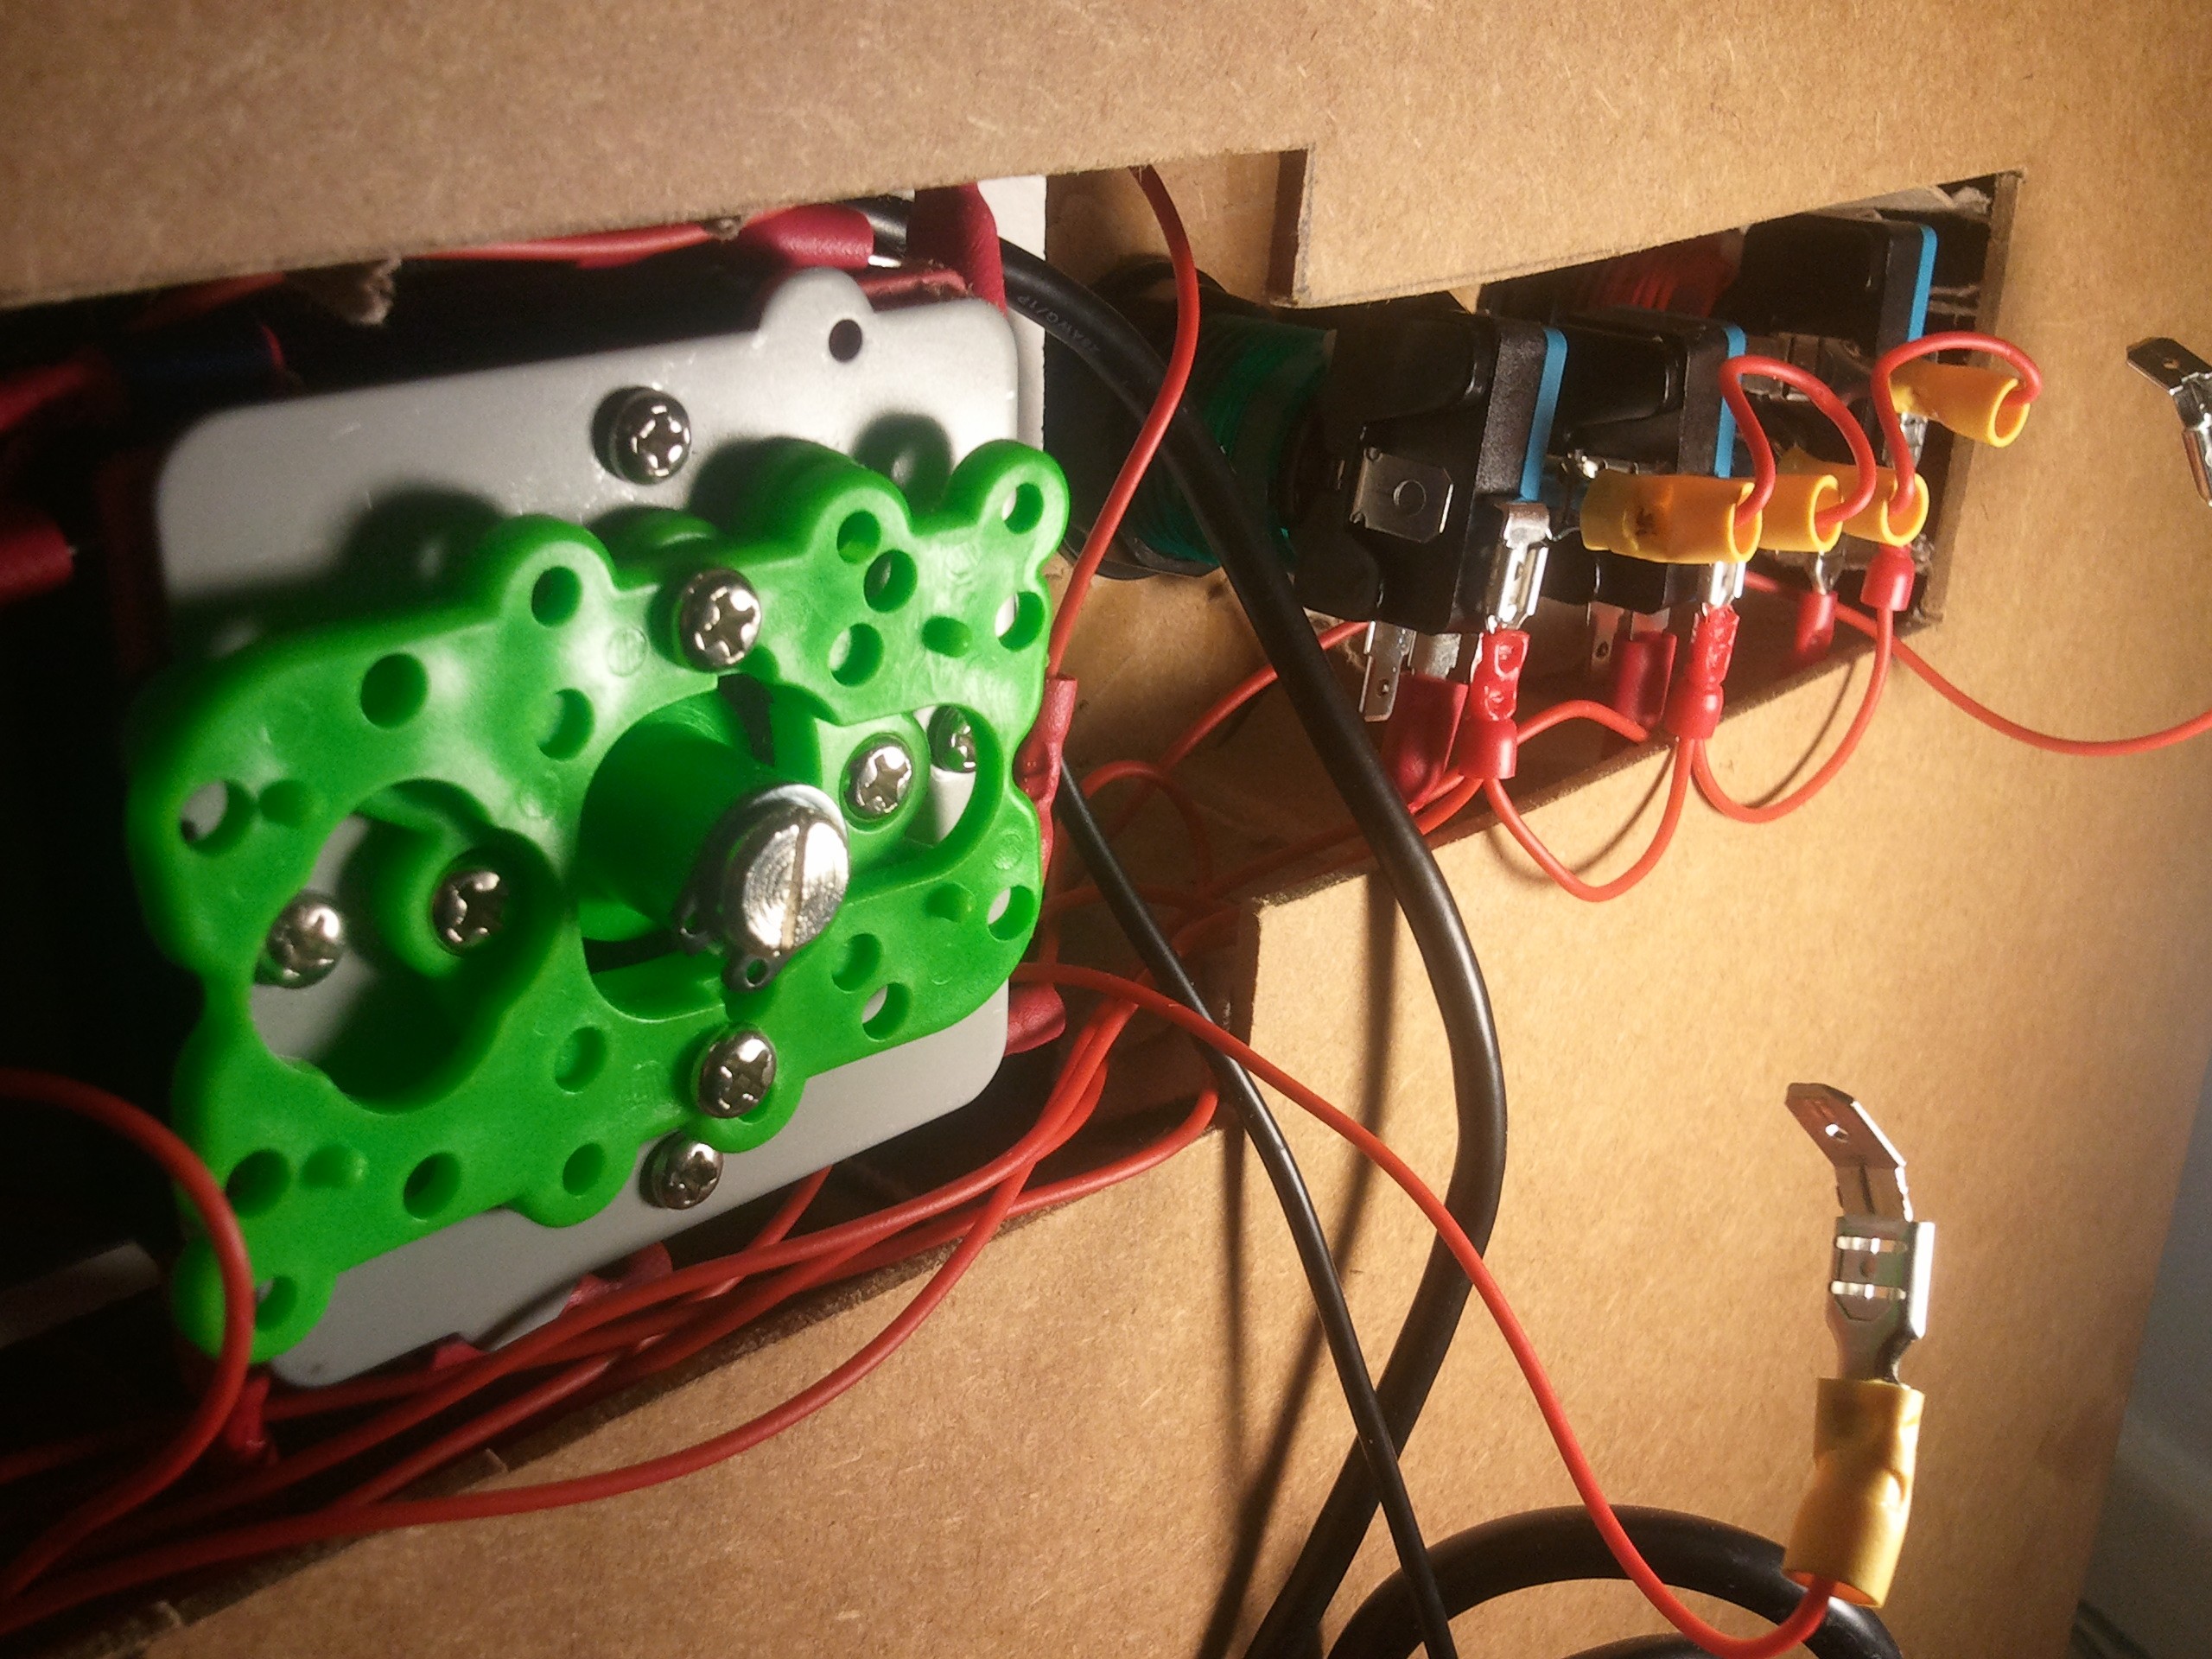
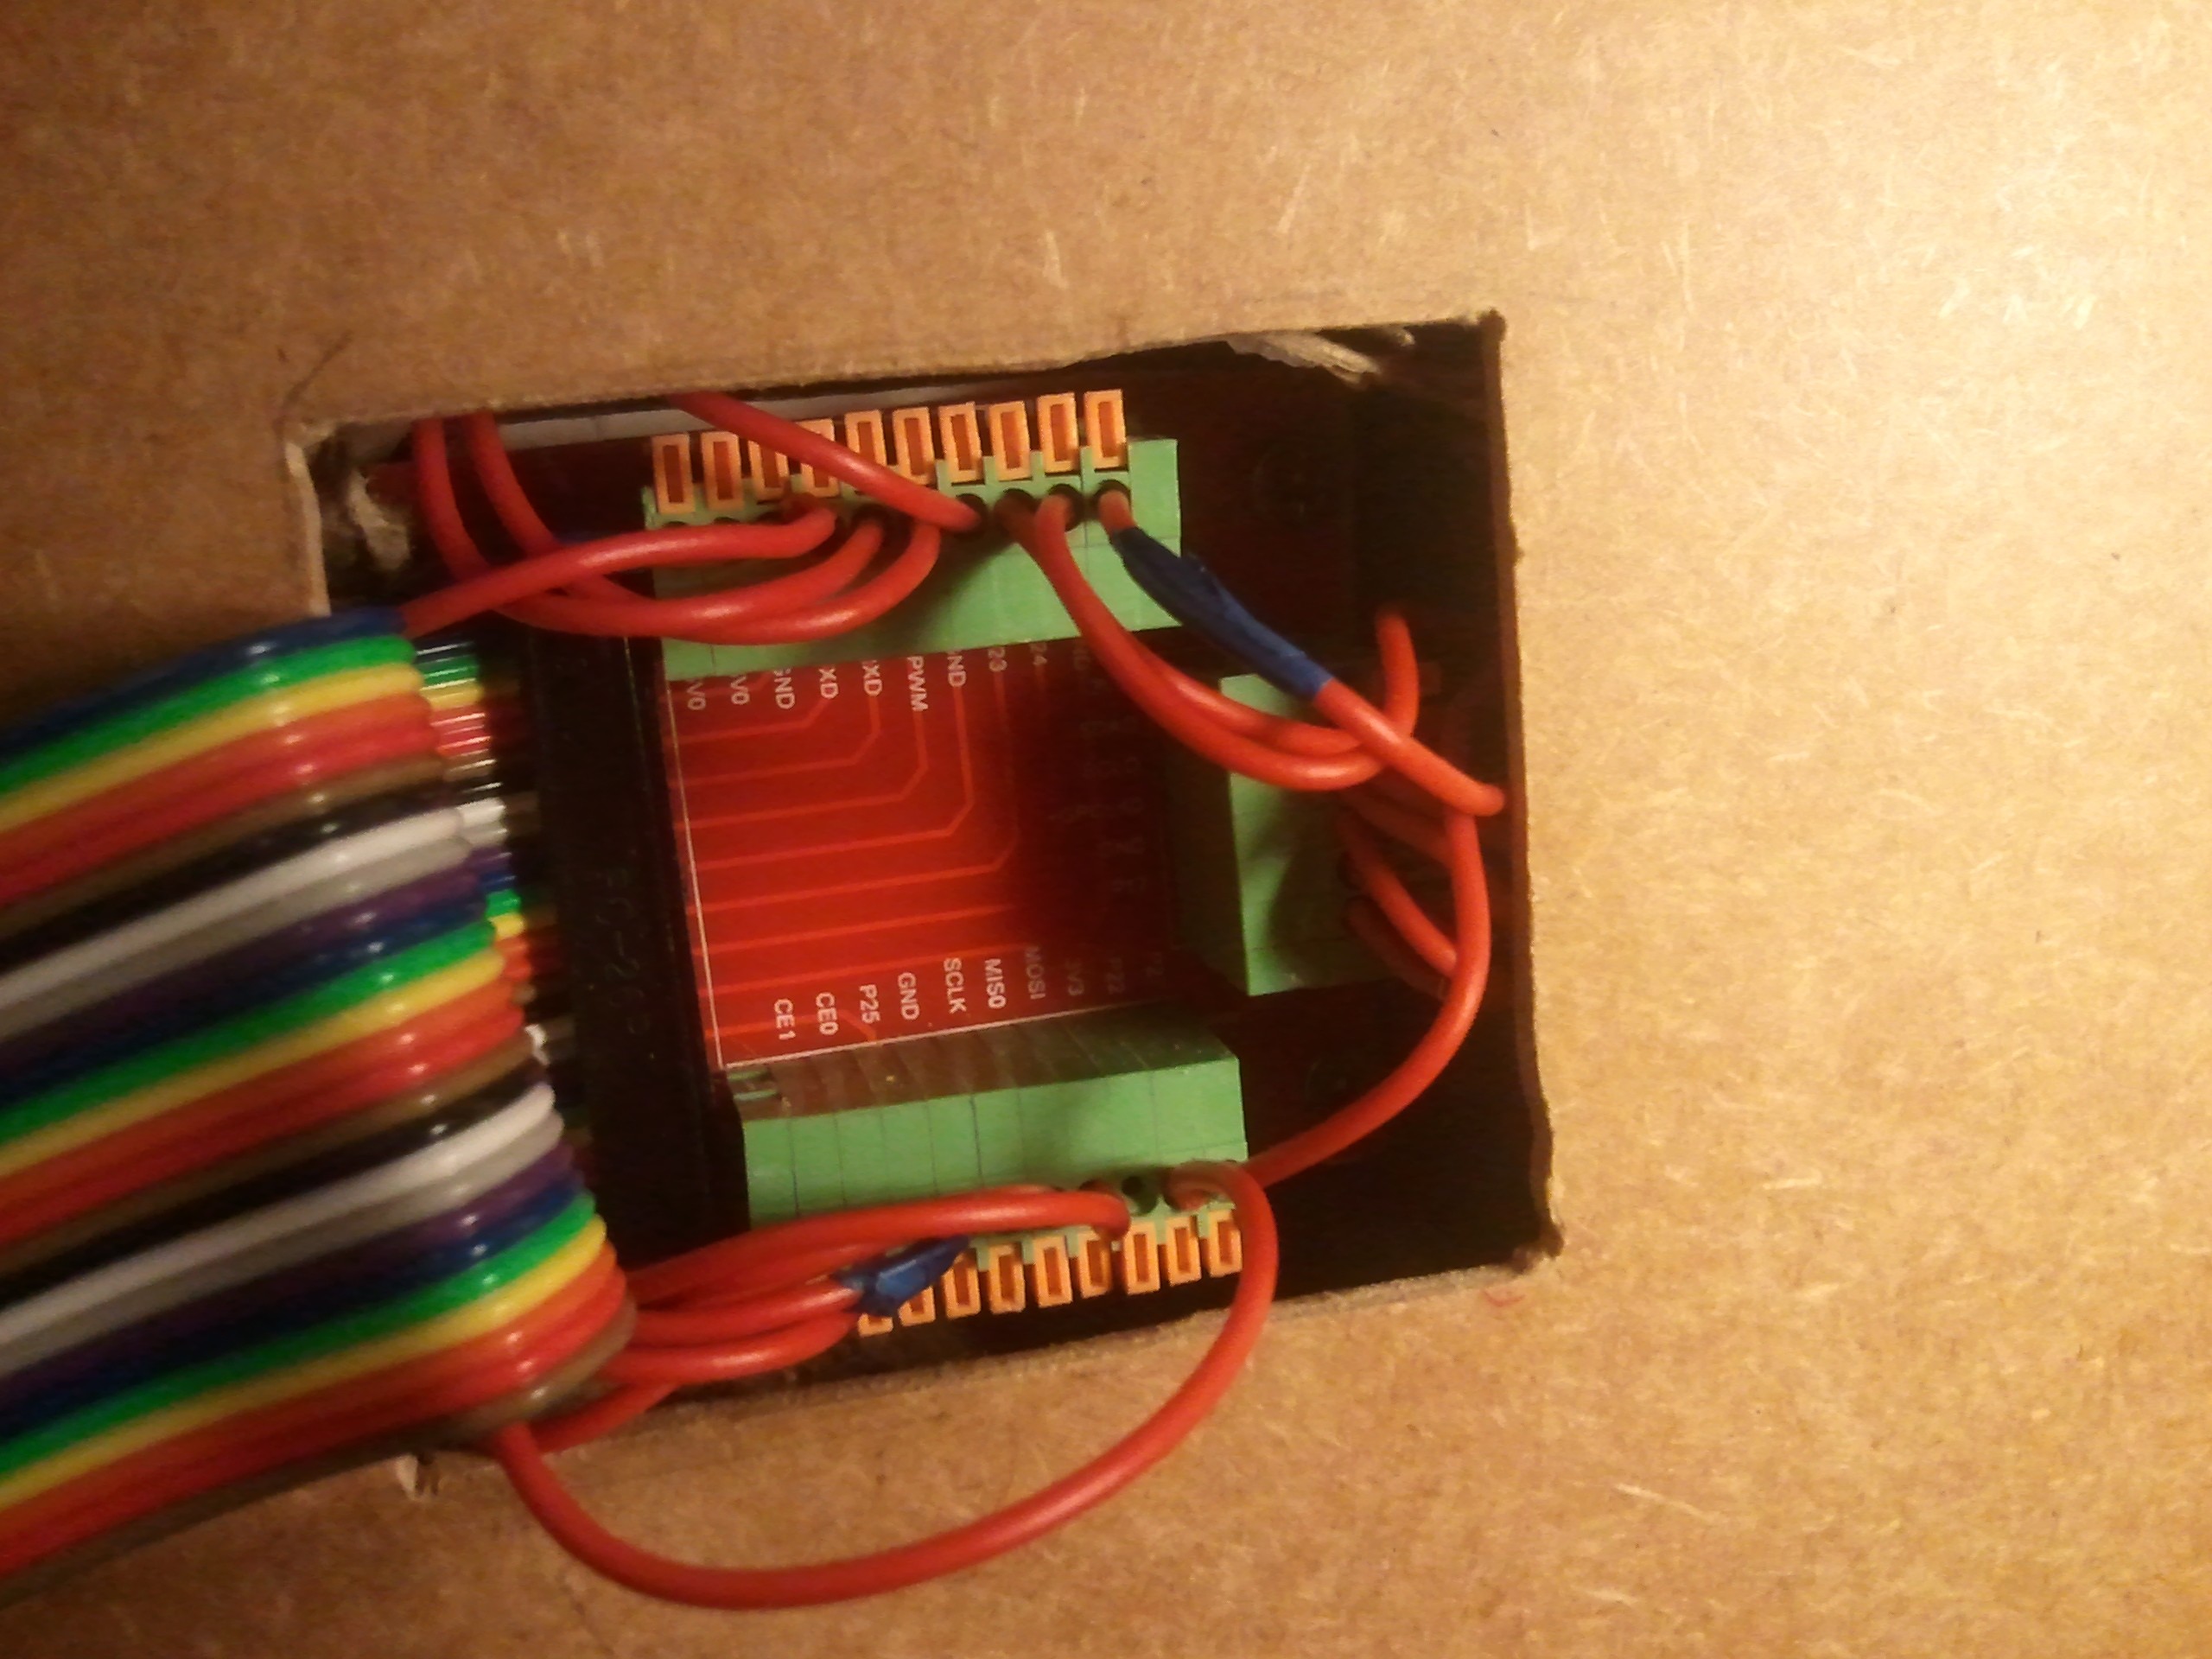
All the cables lead into the GPIO board, there are a total of 5 Ground lines (P1 Joystick, P2 Joystick, P1 Buttons, P2 Buttons, Start/Select/Coin In Buttons) and the switch simply connects each output to the ground.
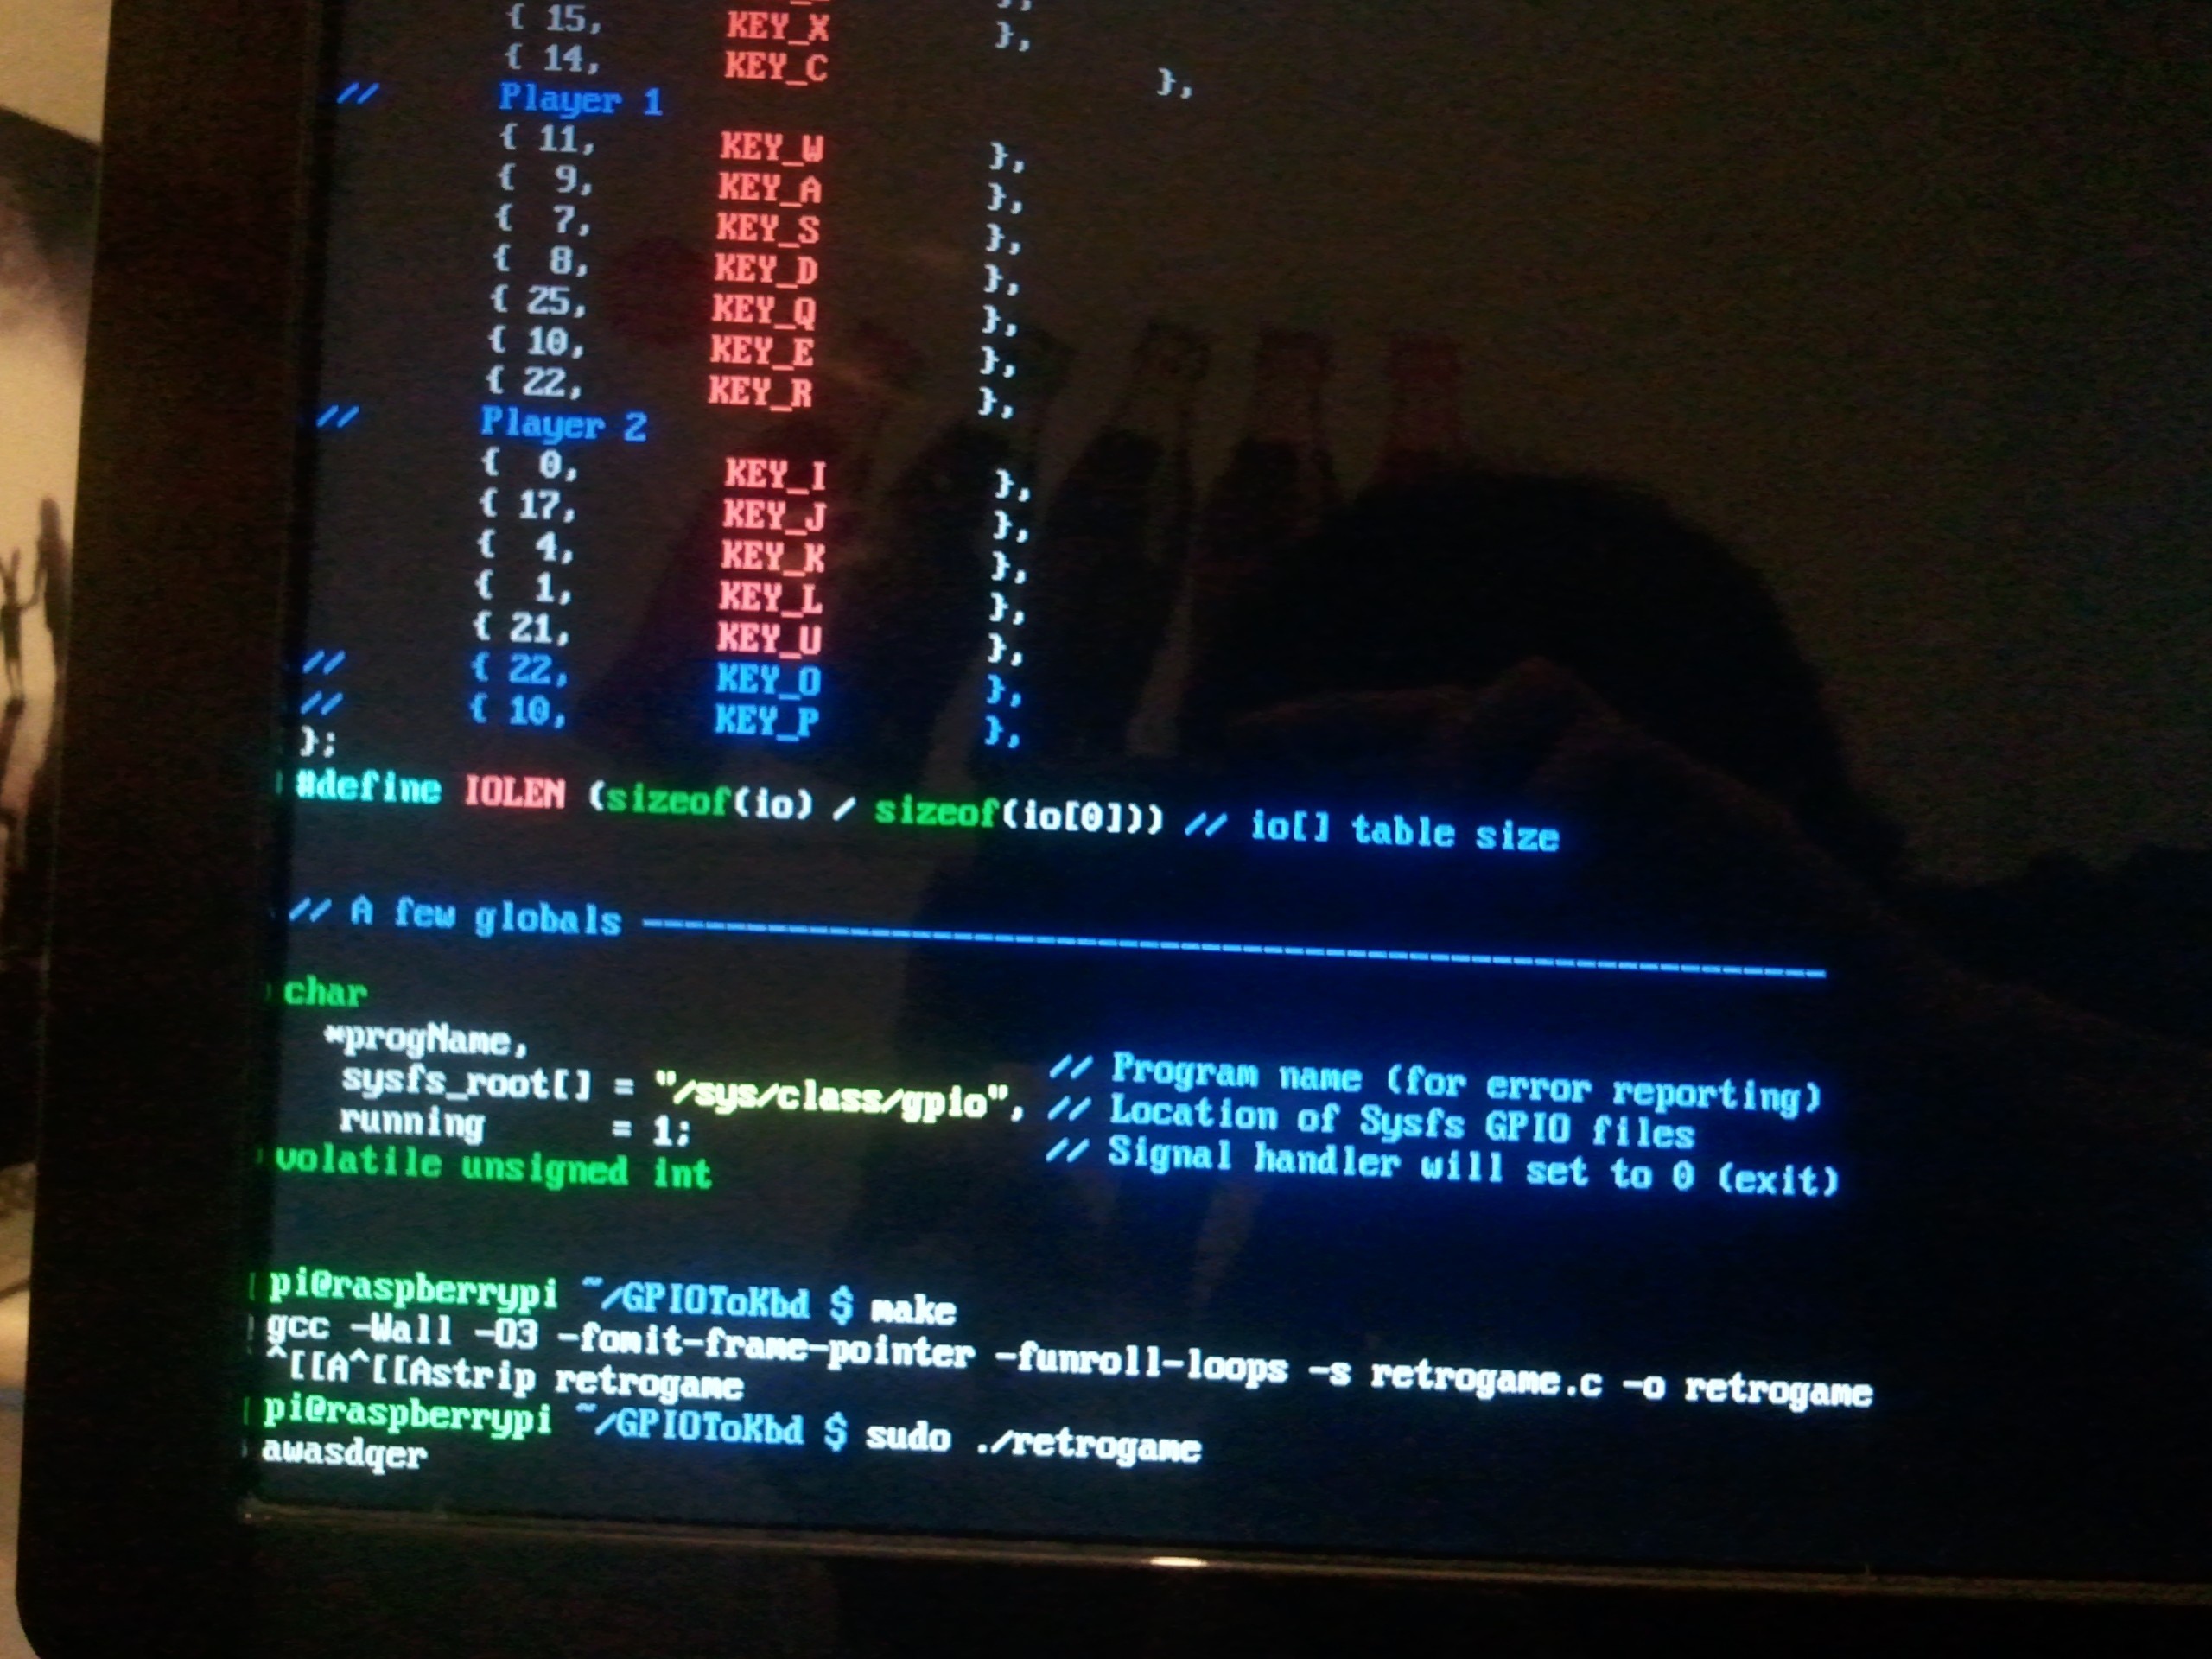
A script provided by Adafruit (RetroGame), scans the raspberrys GPIO pins and converts them into virtual keyboard presses
The screen was made Dust Tight using electrical tape over both the table edges and the screen bezel, the electrical tape layers then creates a nice seal between each other
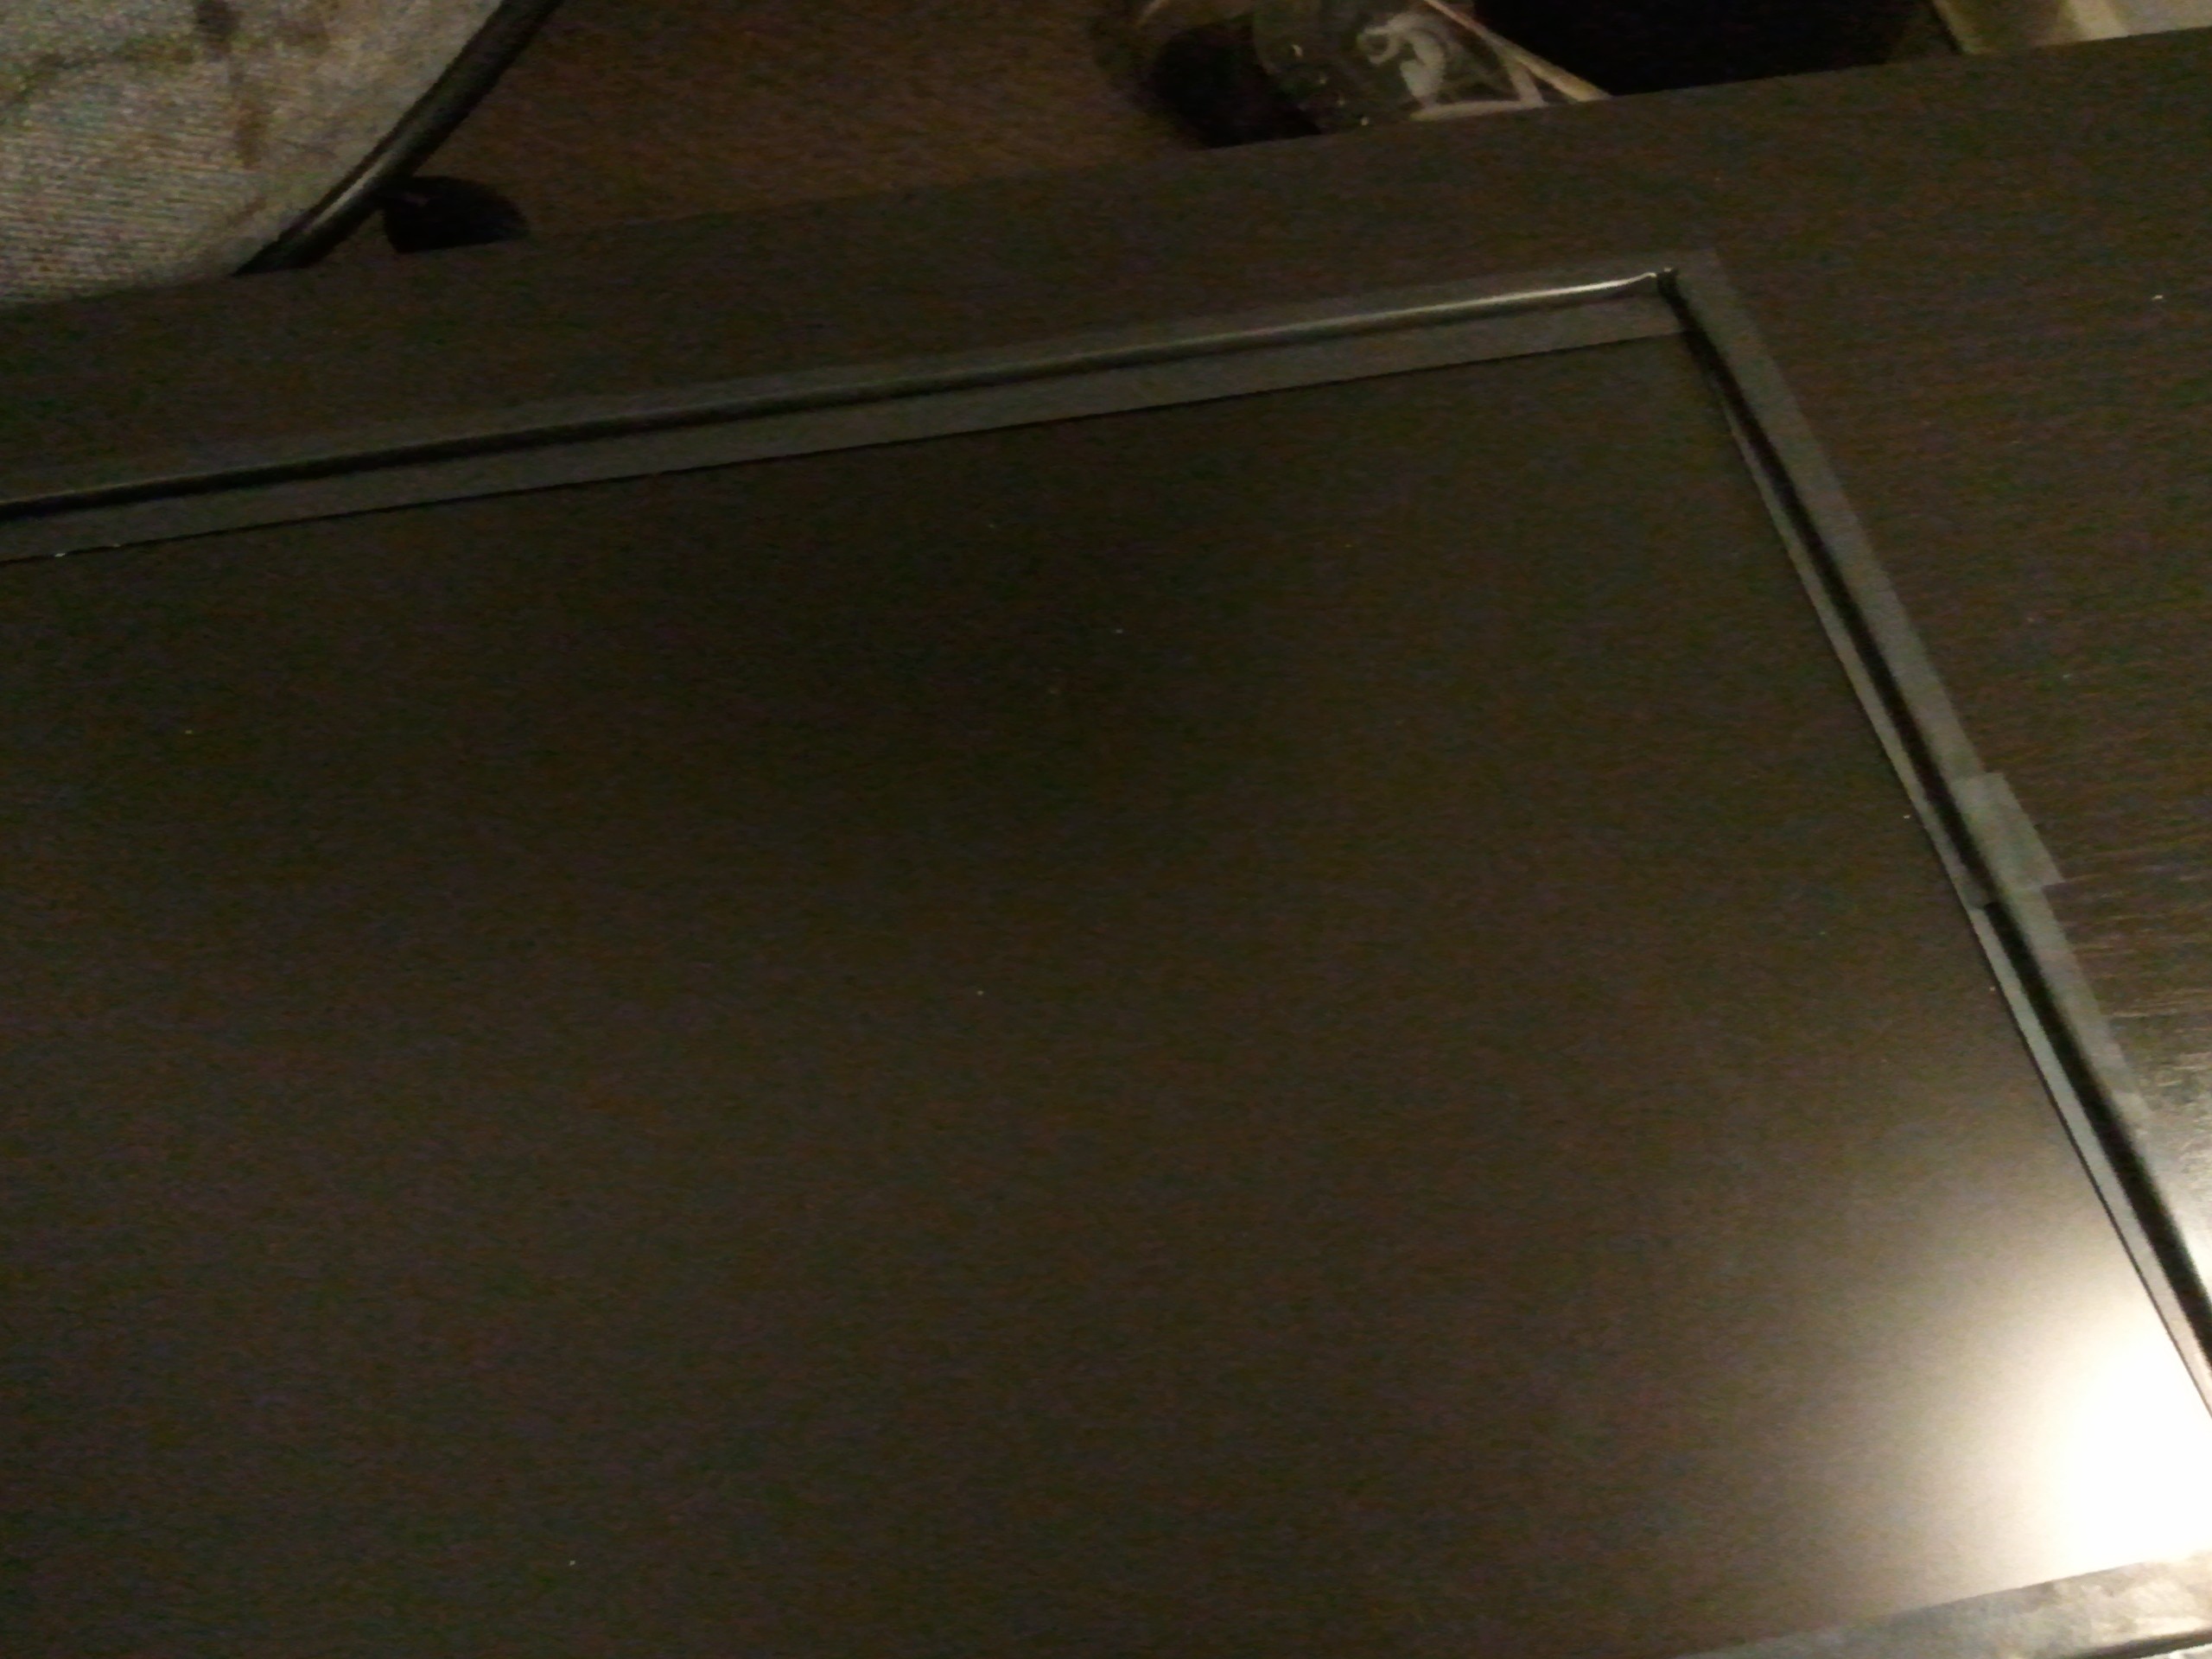
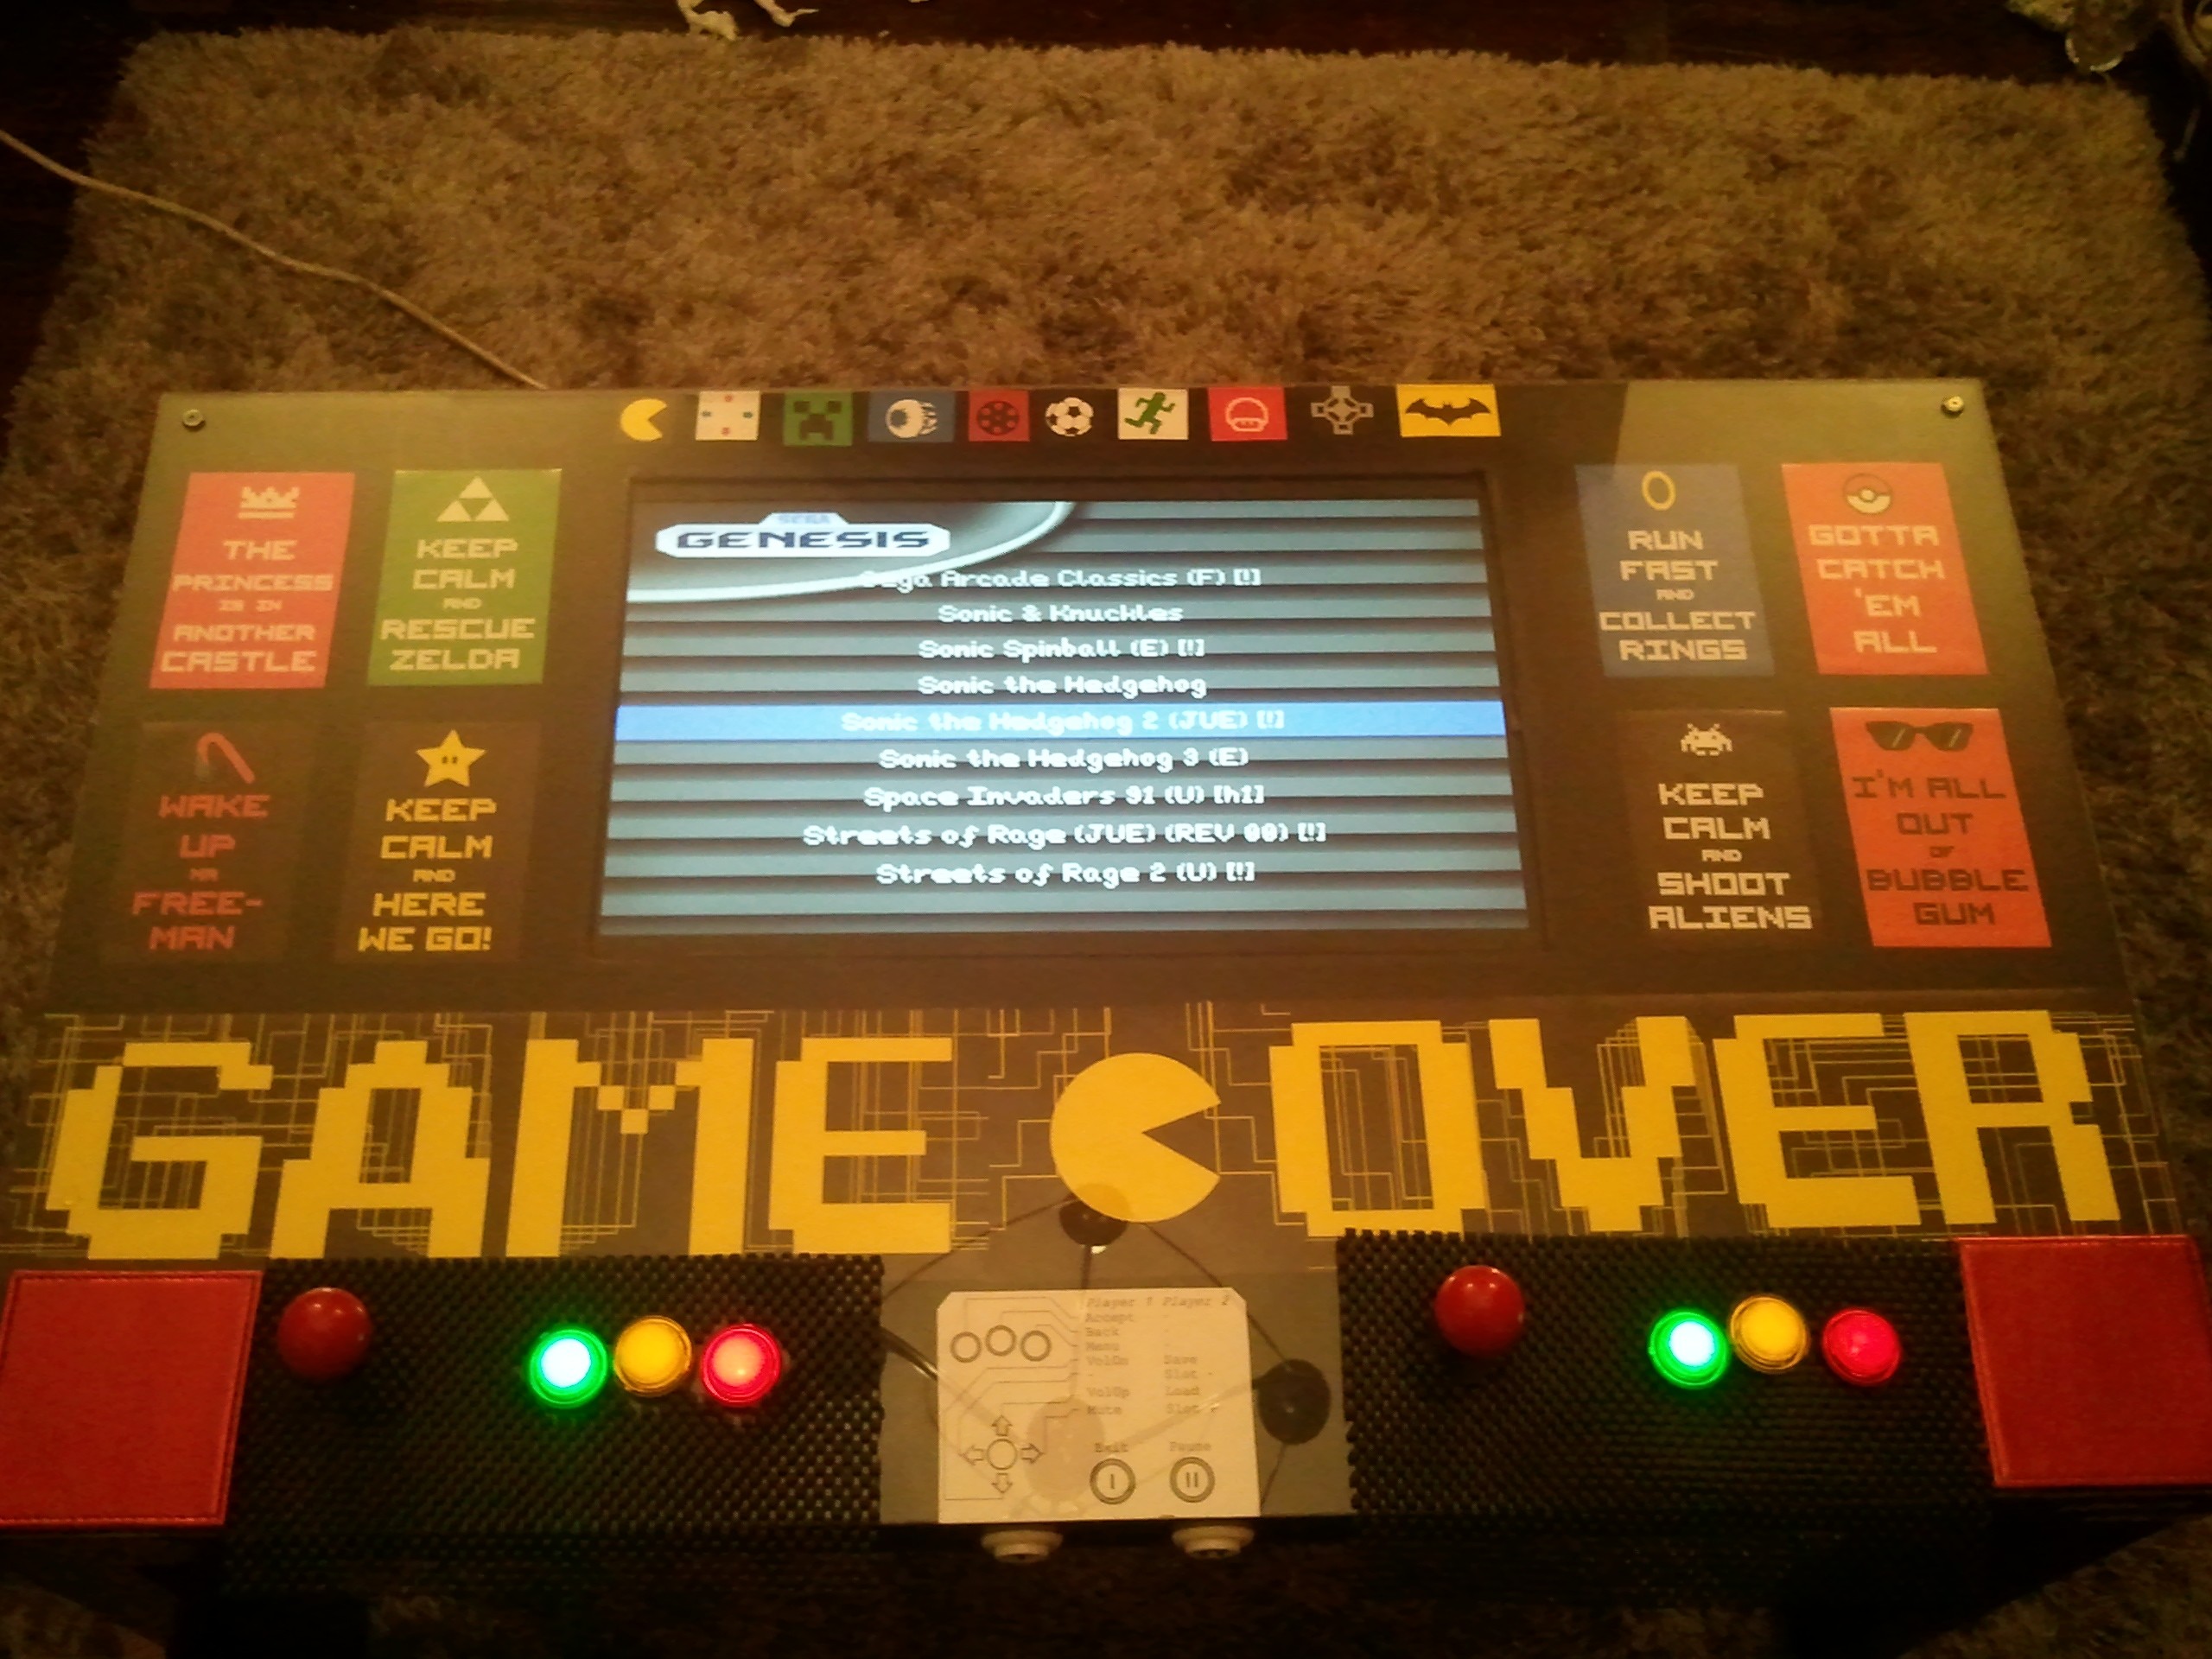
The perspex was then fitted ontop, using 4 screws and a dipped washer. Some posters found in a local supermarket were cut up and used to theme the table.
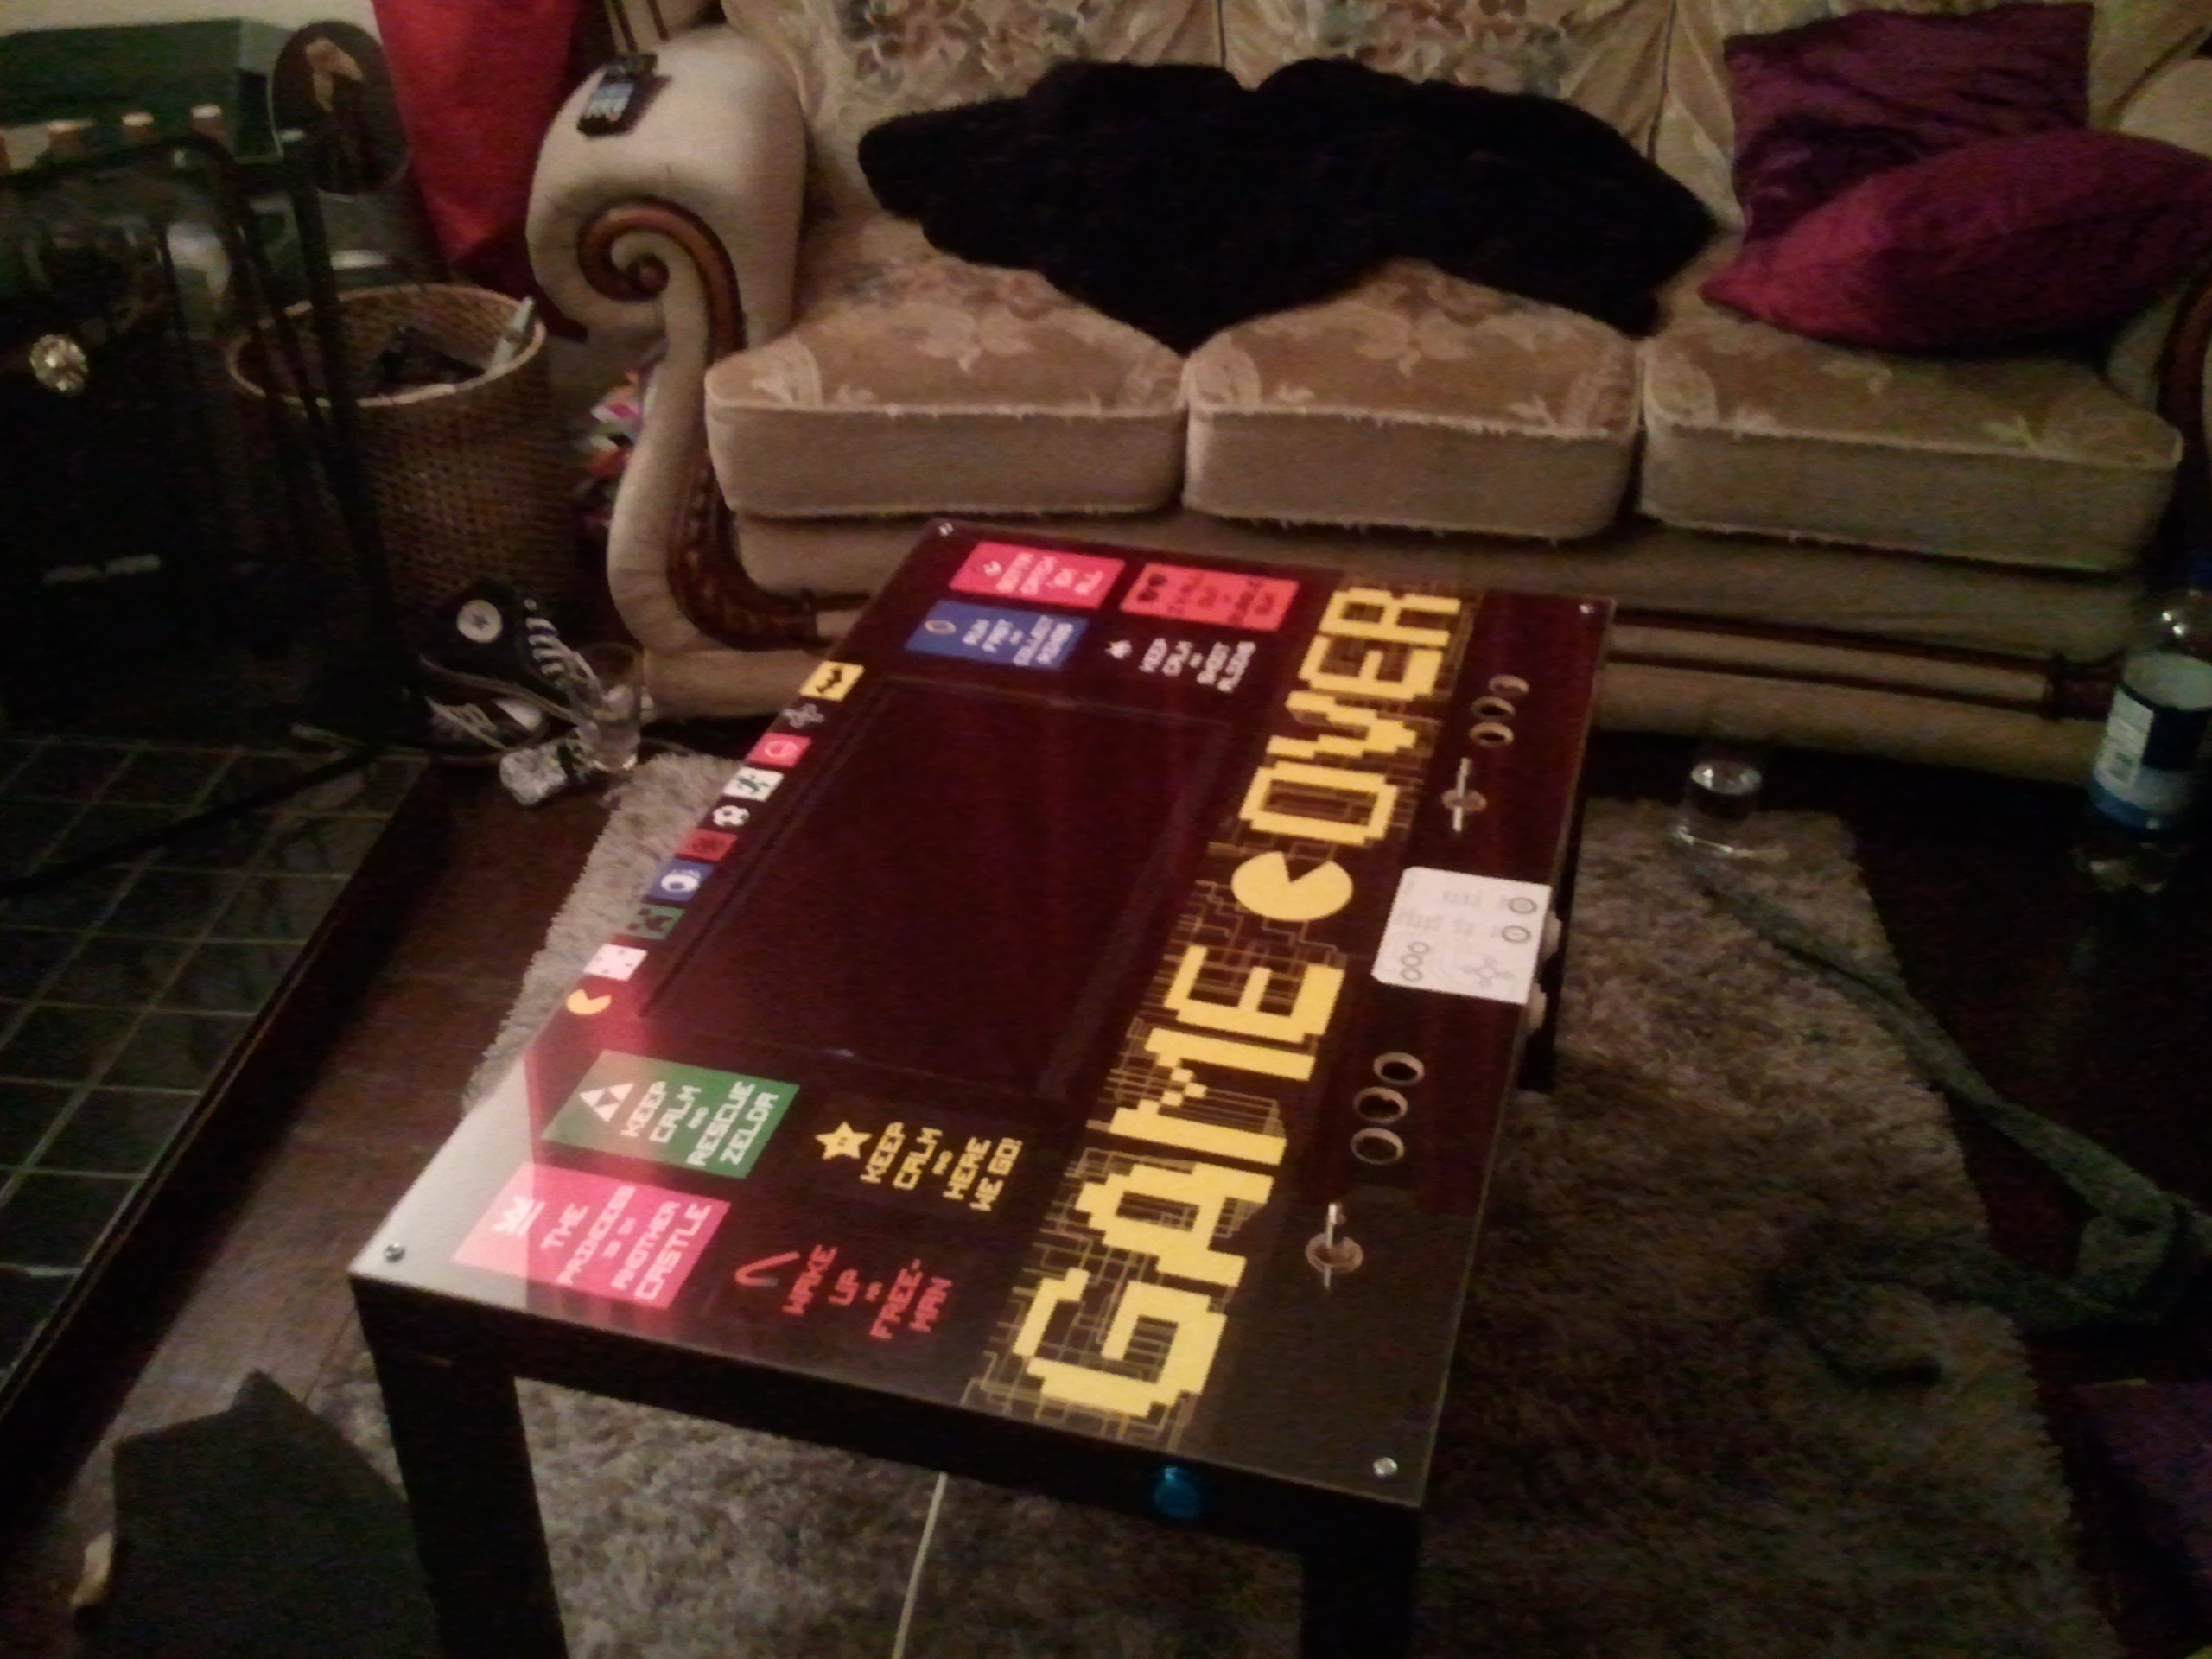
The final result, cringe worthy memes included:
Summary
: 50hrs over 1 Month
Total Cost:
£150
(Excl Tools)
Tools:
- Jigsaw, Fine metal blade and wood blade
- Meter Ruler
- Sander
- Glue Gun
- Cordless drill
- Stepped Drill Bit
- Stanly knife
- Crimper
- Pliers
- G Clamp
Parts:
- 10m Wire
- Raspberry PI GIPO Adapter
- Raspberry PI
- 2x Joysticks
- 9x Buttons with LED"s
- 12v Phone Charger
- USB Hub
- USB laptop cooler
- USB Speaker
- HDMI -> VGA Adapter With audio out
- 4 Way Extension Cord
- USB WIFI Adapter
- Ikea LACK Table
- 2x1.5m Plexiglas
- Cable Ties
- 20"" Monitor
- 2.8mm Spade Connectors
- 5.2mm Spade Connectors
- Floral Foam block
- Electrical tape